Festival Preparation
Making the most of your festival experience as a photographer is more than just turning up to the main stage and shooting. You’ll need to prepare for a very long day of shooting. Depending on the size of the festival the facilities for press and photographers can vary greatly. These days, unless you are shooting some of the big festivals, you’ll be lucky to get free water or somewhere to shelter.
Let’s look at preparing your kit bag:
1 – Camera
For most gig shoots you can get away with one body but if you can, take a 2nd body. If your primary body fails you might miss several days of photography. Also, a 2nd body with a different lens on will make switching focal lengths easier. If you don’t own one, borrow a body if you can. If you can’t borrow one, consider renting a 2nd body for a couple of days.
2 – Lenses
One of the big differences between shooting a gig at a local venue and a festival is that you will likely be a larger distance away from the stage. If you don’t have a fast, long focal length lens like a 70-200mm f/2.8, consider renting one from a company like Lenses For Hire.
3 – Batteries
Don’t expect there to be facilities where you can charge your camera batteries so make sure everything is fully charged and have a spare. It’s worth taking one of those portable battery packs to recharge items like your mobile phone or even your camera battery if it supports USB charging.
4 – Camera Bag
You will spend more time carrying around your camera gear than using it so be sure to pack everything into a comfortable bag that also allows you easy access. Choose a bag that has straps and supports in all the right places and will generally put up with most weather conditions.
Pack Other Equipment and Items

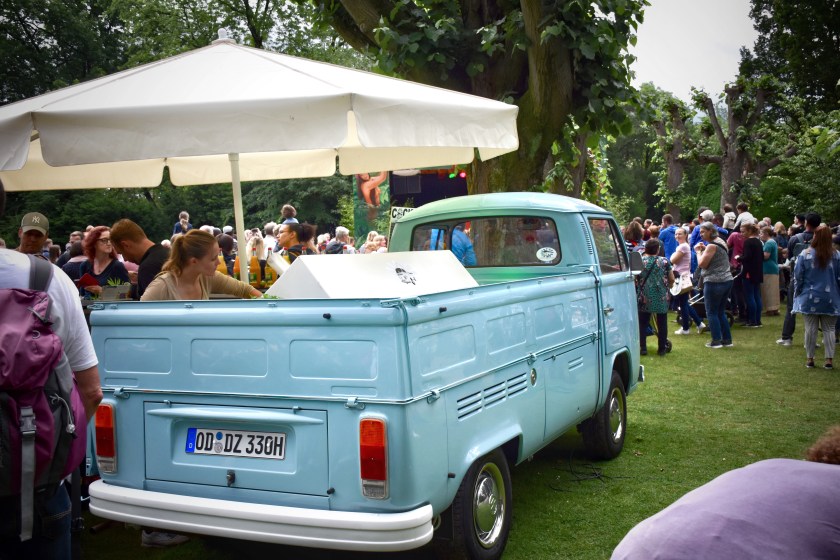
Typical gear for shooting a music festival
While camera equipment is arguably very important, packing these other items will make sure you are fully prepared.
5 – Lens Wipes and Micro Fibre Clothes
Whether it’s rain or flying beer, there is a good chance that your camera or lens might get wet. Keep a stock of lens wipes and microfiber clothes handy.
6 – Snacks
Though the variety of food and drink that can be found at festivals is mind-boggling these days, it can be expensive. Since the days can be long you could easily end up eating all 3 daily meals there. Save some cash and take your own water and food/snacks. Being hungry and thirsty will ruin your creativity and motivation, so stay fed and watered.
7 – Money
While taking your own food and drink will save you a lot of money, be sure to take some cash. It’s handy for emergencies when your own provisions run out, or you just want to treat yourself to a delicious cheeseburger or a refreshing summer drink.
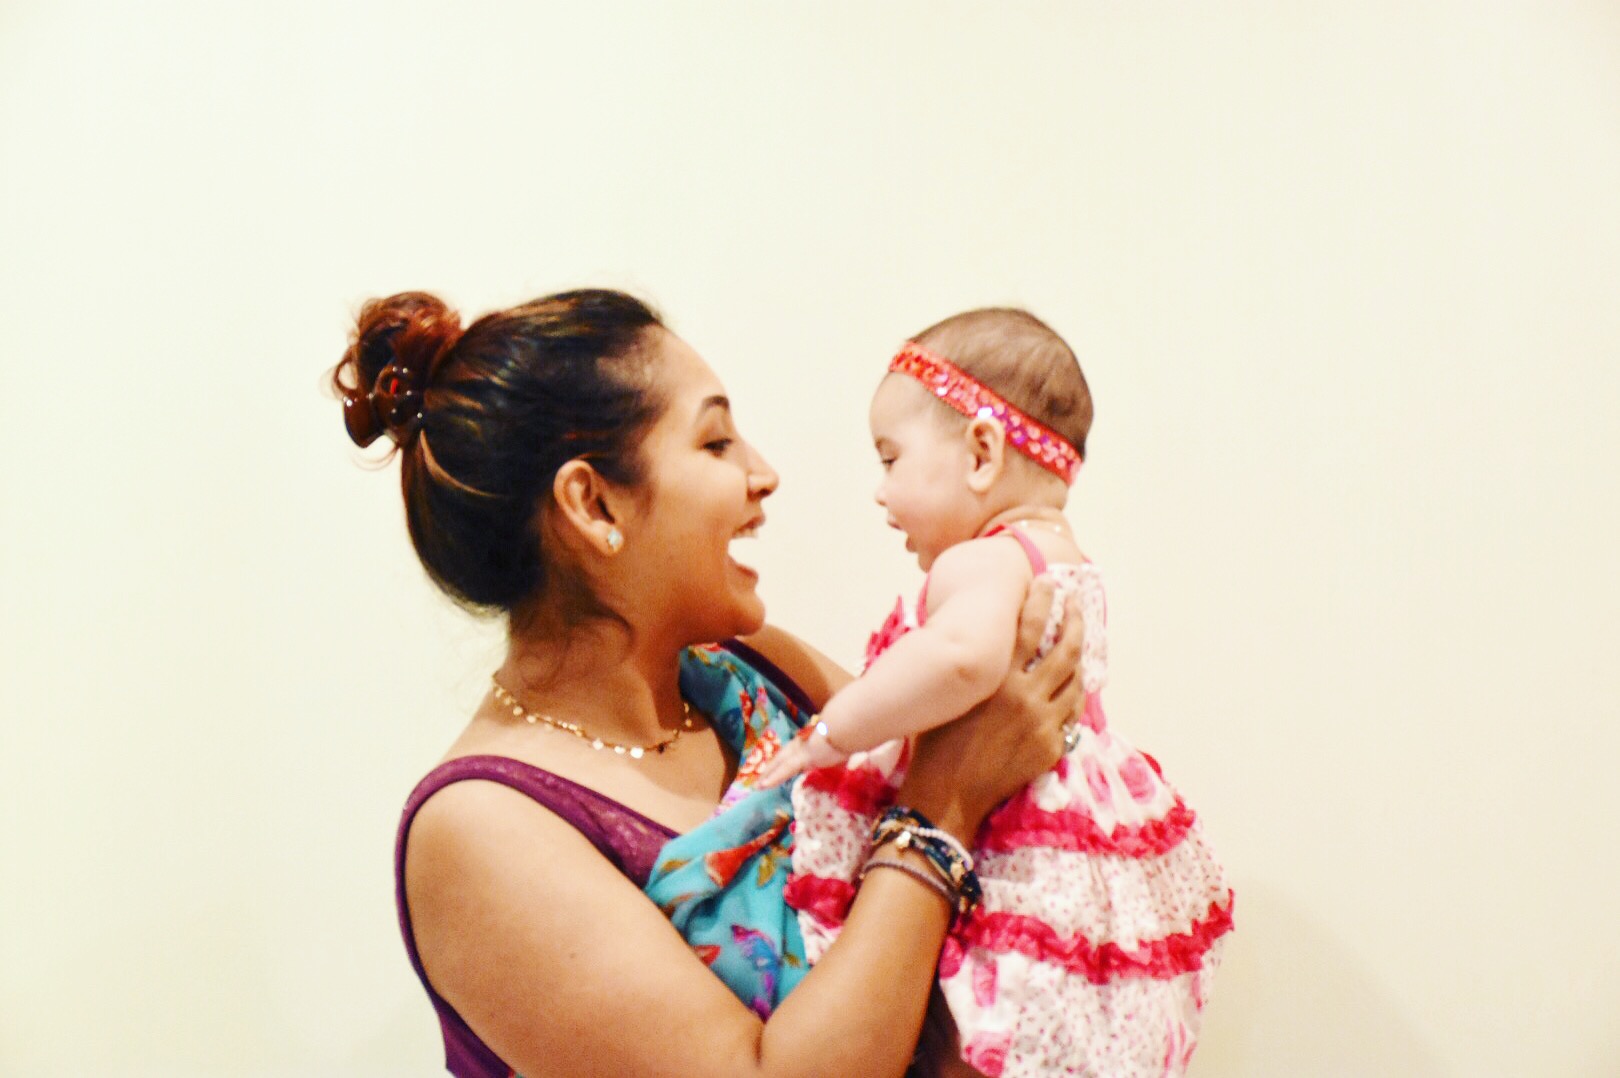
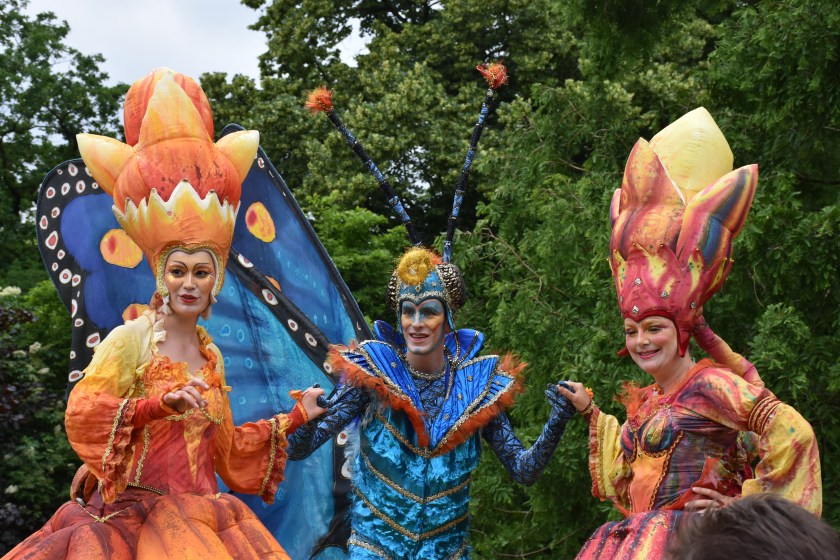
Photography by Sanchali, Jungle Carnival, Hagenbecks Tierpark
Photography by Sanchali, Jungle Carnival, Hagenbecks Tierpark
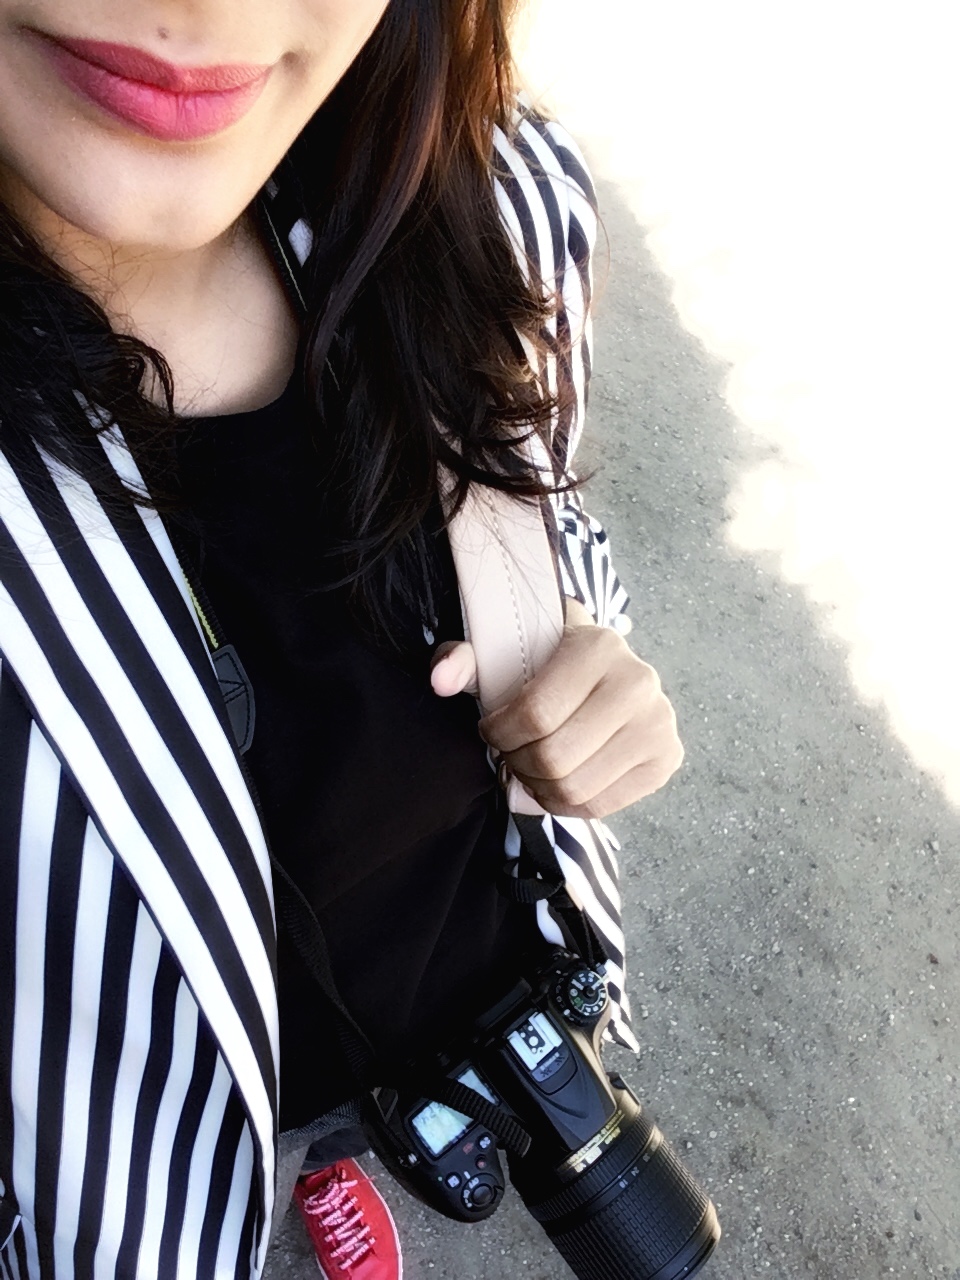
8 – Clothing
 When shooting a festival, the days are long and you will spend long periods of time either walking from stage to stage or standing about. You will want to wear very comfortable, but practical clothes. Comfortable walking boots, layered clothing, walking trousers, and waterproofs are your best friends. European festivals are well known for the mud and rain, and you will be miserable if you are soaked through and have muddy feet. If you are shooting on a sunny day, don’t forget sunblock.
Once you’ve got all your kit sorted, you need to have a plan.
Develop a Plan
Though you could just rock up to the gate and wonder about the festival for a few days, working out a few key items will allow you to better use the time you do have there.
9 – Work Out Your Schedule
Not all festivals will publish the running times of the acts, but you can at least review who you need to or want to shoot. Depending on the size, layout and running times of the festival, it may not be possible to photograph everyone. So, write a list of the artists that you either must and/or want to shoot. If there is a published running order with times please keep in mind this is always subject to change so be prepared to modify your schedule.
10 – Social Media Tags
If you are planning on sharing any of your images live from the festival now is the time to take note of any associated hashtags or account names. You probably won’t have a lot of time between artist performances so save yourself a bit of time and take note of some key social media tags. For each post, you’ll want to tag the band and the festival. Take a read of 12 Things To Do When Starting Out in Gig Photography for some tips on sharing your images.
11 – Getting There
Obviously, you know where the venue is but do you know how you are getting there? What are the parking restrictions? Do you need to pay for and get a parking permit in advance? How far are the stages from the car park? Take all these things into account and leave plenty of extra time.
12 – Collecting your Pass
Do you know where and from who you need to get your pass/ticket/wristband from? Sometimes your ticket will come in the mail, but your photo/pit pass will need to be collected on-site. Either way, give yourself plenty of time to sort this out. being stressed and anxious won’t help you resolve any issues more quickly.
13 – Site Map
If you can get a site map in advance so you can see where all the stages are this will help in the planning of your schedule
14 -Check Out Historical Photos
Unless this is the first year of a festival there will likely be a few images of the previous year’s somewhere on the internet, including the festivals own website. These images will help you understand what the layout looks like, key shooting locations, stage sizes etc.
At the Festival
You’ve done all your preparation, you arrive at the gate, get your pass and you’re in! Here are some things for you to think about:

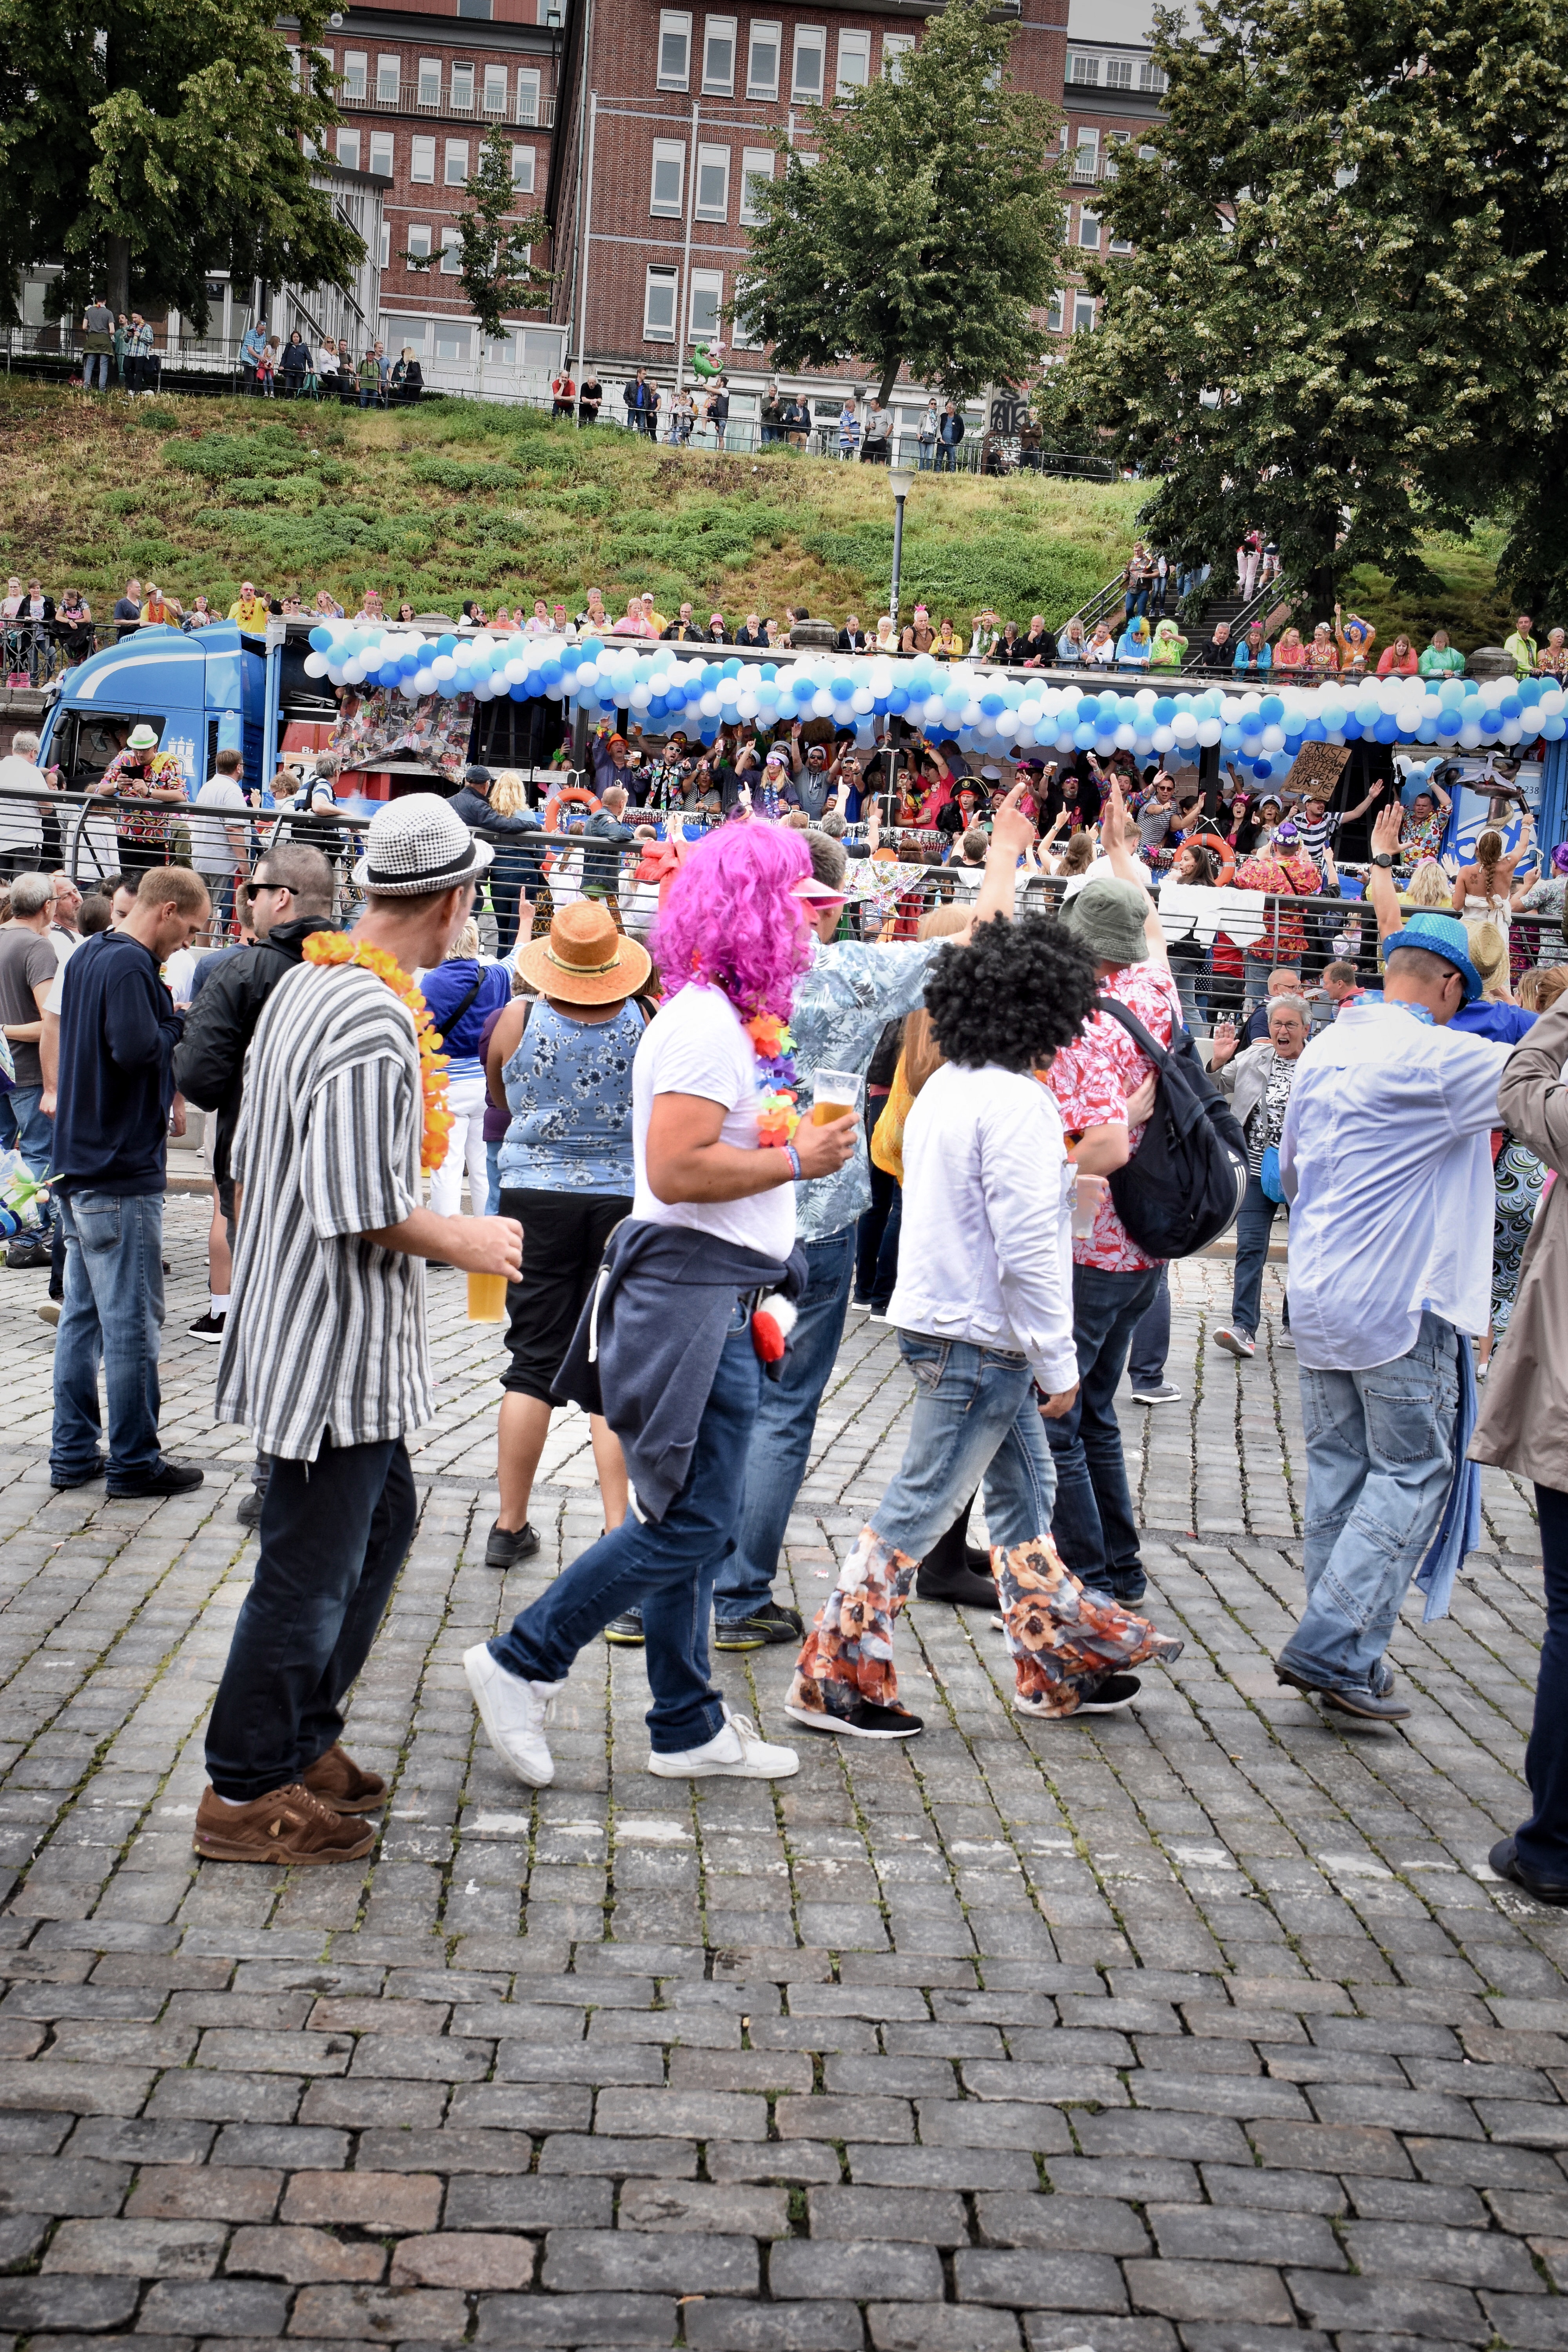
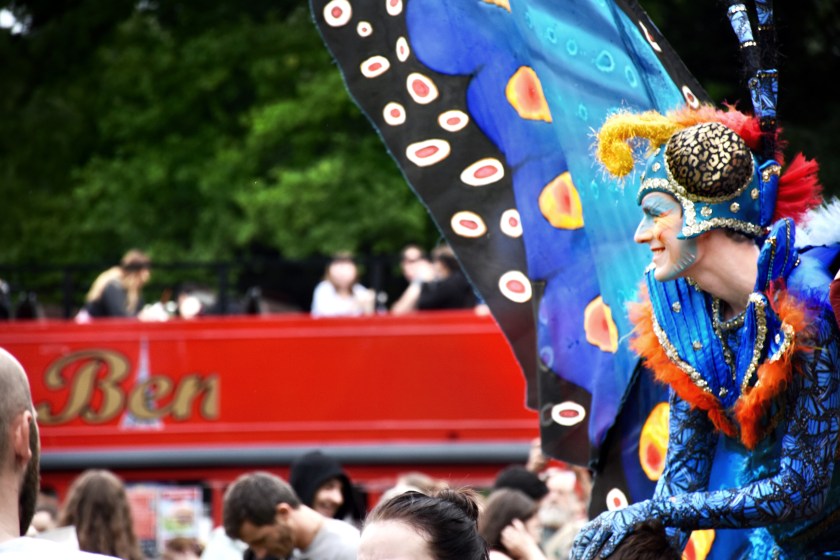
Photography by Sanchali, The Schlagermove Parade, Hamburg
Be Social
No, this isn’t about checking your Facebook or Instagram feed while you’re there but your interactions with the other people that are working there. Some of the people you will find worth making friends with are:
15 – Fellow Photographers
 You are unlikely to be the only photographer at a festival so there will always be someone to talk to when your hanging about the side of the stage waiting to get into the pit. Aside from it being a great way to do a bit of networking you can often pick up some useful information. By speaking to your fellow togs you might find out about schedule changes, cancellations, or even when the pyrotechnics in the front of the stage might go off! After you’ve done a few gigs and festivals you’ll start the see the same faces making the whole experience a bit more fun.
16 – Security
If you’ve read the article 12 Things To Do When Starting Out in Gig Photography, you’ll know how the value to the importance of the photographers’ relationship with security staff. While they are unlikely to give you access that you aren’t authorized to have, knowing your security staff will allow for an easier transition between stages and they are also a great source of useful information.
Tell the Whole Story
While the obvious draw for people when they come to a festival is the music, there is often so much more than going on.
17 – Check the Other Stages
Most festivals have a wide variety of acts on. Everything from circus performers, comedy acts, kids entertainers, DJs, open mic slots, etc. Make sure you go away from a festival with a wide range of photographs that help tell the story of the event.
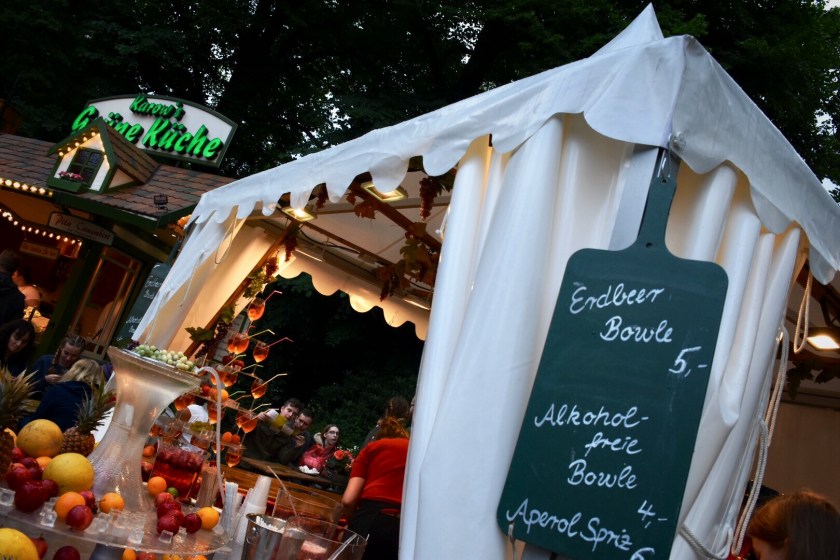
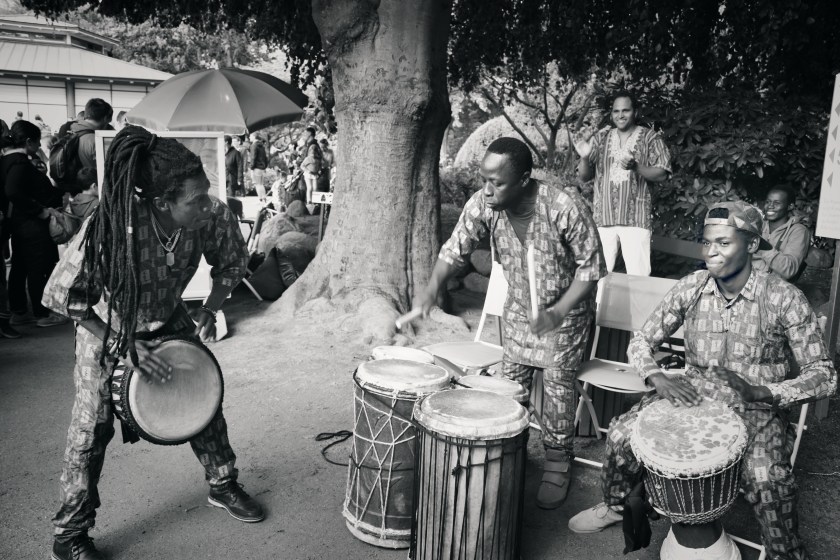
Photography by Sanchali, Jungle Carnival, Hagenbecks Tierpark
Photography by Sanchali, Jungle Carnival, Hagenbecks Tierpark
18 – Shoot the Small Things
There is more to festival photography than getting an epic shot of a famous band. While you’re hanging about waiting for the next band or act to come on stage check to see if there is anything else worth photographing. For example, is there a collection of nice guitars or drums sitting on stage that makes for a good image?
Photography by Sanchali, Jungle Carnival, Hagenbecks Tierpark
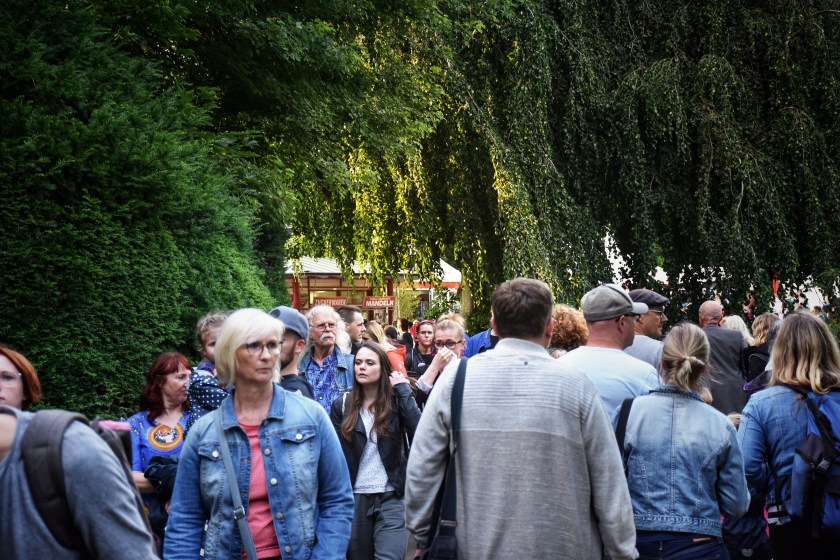
19 – Photograph the Crowds
No festival photography story would be complete without shots of the crowd. The best time to shoot the crowd is just after a song has finished as this is the most likely time they will have their hands in the air. If you have a 2nd body make sure you have your wide-angle lens on so you can quickly turn around from the main stage and grab that wide-angle crowd shot.

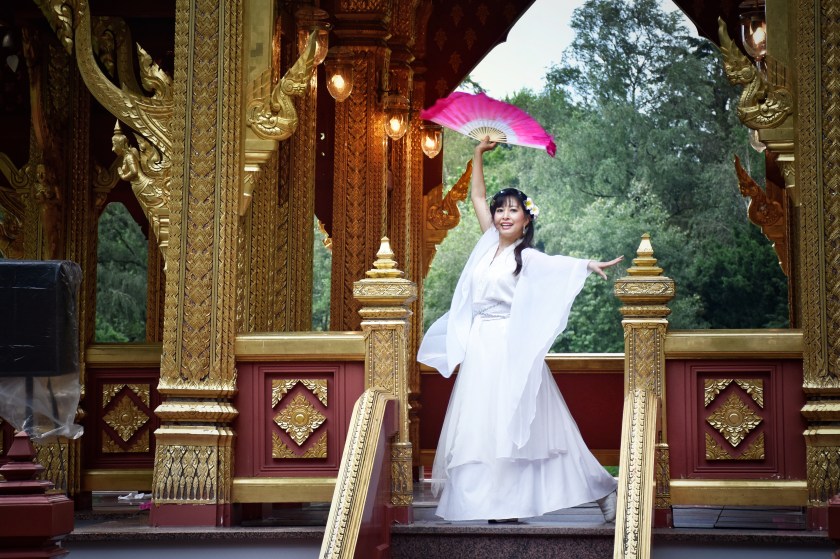
Photography by Sanchali, Jungle Carnival, Hagenbecks Tierpark
Photography by Sanchali, Jungle Carnival, Hagenbecks Tierpark
20 – Talk to People
While you are walking between stages be sure to have your camera ready. It’s always worth walking with a smile and stopping with a chat. You will meet some amazing people and because you are relaxed they will be giving you a much better image.
Don’t Just Shoot from the Pit
There’s no doubt that shooting from the pit will provide you with some great angles and opportunities to capture amazing images. But have you considered:
21 – Shooting from the Mixing Desk
The mixing desk is a great location to get those epic crowd and stage shots. Try standing in front of the desk area and holding your camera above your head (live view and a tilting screen really help here). It may also be possible to get into the mixing desk area. It’s often on an elevated platform giving you a much better shot.

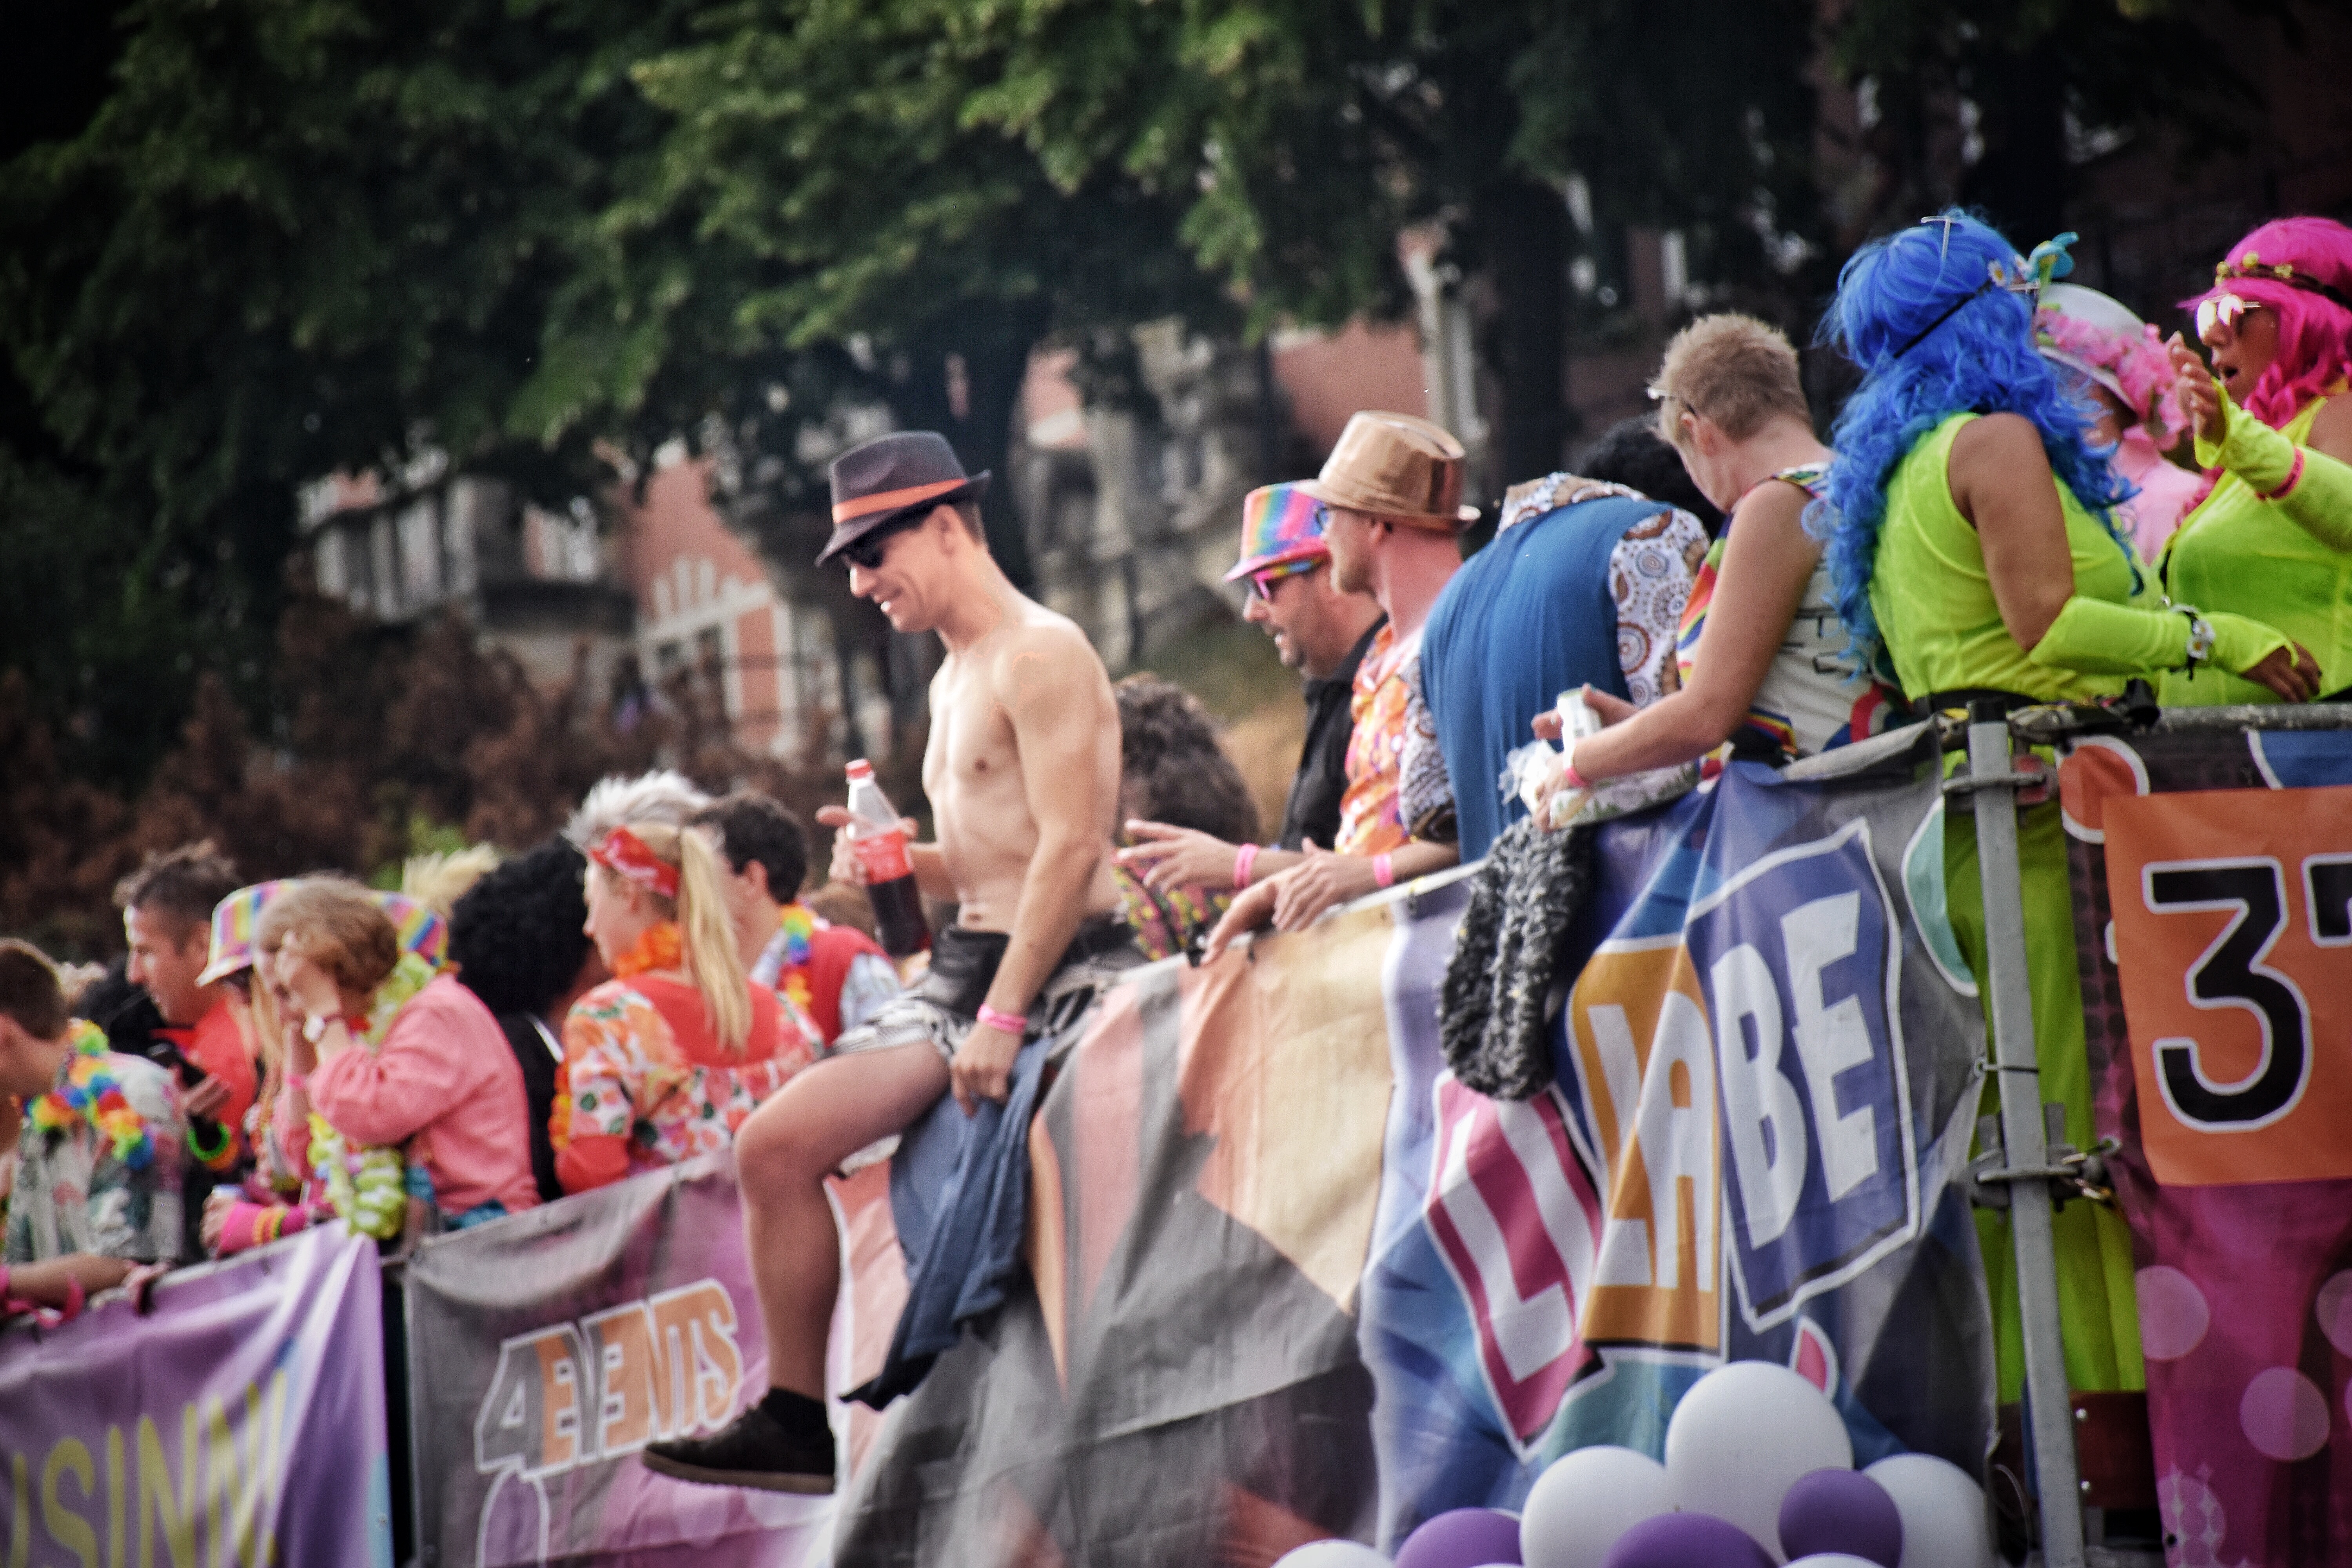
Photography by Sanchali, The Schlagermove Parade, Hamburg
22 – Shooting from Side of Stage
This area is typically more controlled than other areas, but if you can get access shooting from the side of the stage can give you some really interesting shots. Images of the band or artist playing to a massive crowd make for some great shots.
If neither of these locations are directly on your list of areas you can access it’s always worth introducing yourself to the stage manager or someone on the mixing desk. Tell them who you are, and what you’d like to do. It won’t always result in access, but if you don’t ask you’ll never know if you could have.

Photography by Sanchali, Jungle Carnival, Hagenbecks Tierpark
23 – Get Sharing!
Nothing beats being the first photographer to get an image out onto the internet. So, if you have the capability, get your images out into your social media channels as soon as you can. Make sure you tag the band and the festival as well. The sooner you get your images out the more likely the band or festival will also share it.
Back at Home or the Office
24 – Import, Backup, and Tag
You’ve just spent 3 days in a muddy field and shot over 2000 images. The first thing should do is to get those images onto your computer. Import them straight away into Lightroom (or just onto your hard drive) so you have another copy. You should then kick off your backup routine which should be robust enough that you will have another copy of the images, and if possible and offsite/cloud copy.
Once you have multiple copies of your image data be sure to take some time and tag all your images with some metadata. At a bare minimum, you should tag them with the festival name and the name of the band or artists. No one likes doing this but it will make image selection and search much easier.
If you’ve gone home every night or had your laptop, you should do this every day of the festival.
25 – Select and Process Like A Pro
Unless you have a specific requirement to publish a number of images of each band or artist, you should ideally only select 2 or 3 images for processing. Be hard on your own work and only select images that will really make the cut. After a few solid days of festival work, the thought of having to process hundreds of images will be daunting and you may struggle to start.
By selecting on a couple of images of each band and some crowd shots, the overall number of images you will process will seem much more manageable and achievable.
If your publication, festival, or a band come back to you for more images, process some more then. Hopefully, you will have tagged all your images so finding the right images will be easy. If you are using a program like Lightroom, most of the time you can copy the develop settings from one of your previously develop photos.
It’s Hard Work but Fun
Photography of a festival is hard work, but hopefully, the tips above will let you plan and execute your festival shoot a little more effectively. But most of all, just make sure you enjoy it!

Photography by Sanchali, Jungle Carnival, Hagenbecks Tierpark
Photography by Sanchali, Jungle Carnival, Hagenbecks Tierpark
Do you have any festival photography tips? Was there anything on that list that you hadn’t considered? Let me know in the comments below.
Post Courtesy: Improve Photography
Event: 1. The Schlagermove Parade, Hamburg.
2. Jungle Carnival, Hagenbecks Tierpark.